Blog · Application Guide
7 Essential Tips for Applying Embroidered Patches Iron On
Embroidered patches iron on sound simple, but when orders stack up, slipups wreck consistency fast. Learn 7 essential tips for flawless iron-on patch application.
Published June 20, 2026
Introduction
Embroidered patches iron on sound simple, but when orders stack up, slipups wreck consistency fast. Edges curl, adhesive weakens, and your production line turns into a real gamble.
IBISWorld reports apparel decoration demand growing through 2025, driven by durability and consistent application expectations. This guide removes guesswork and locks in repeatable results.
Key Notes for Embroidered Patches Iron On Mastery
- Clean & Prep: Ensure fabric is free of dust and wrinkles before placement.
- Heat Control: Use medium heat; too low fails bonding, too high harms threads.
- Pressure & Time: Apply firm, even pressure for at least 15 seconds to fuse adhesive.
- Cool Down: Let patches cool completely to lock in strength and wash resistance.
- Edge Care: Reheat borders or stitch edges to prevent lifting over time.
How 72% Of DIYers Botch Patch Adhesion
Most fails with embroidered patches iron on jobs aren't bad luck—they're skipped prep, heat guesswork, and patch misjudgment. Fix those, and iron on patches actually stay put.
Skipping Fabric Base Prep and Misjudging Patch Dimensions
A weak bond often starts before the iron heats up. Poor fabric preparation and sloppy measuring sabotage even premium embroidered patches iron on products.
- Dust, sizing chemicals, or softeners block adhesion strength
- Uneven garment surface creates air gaps
- Wrong patch size stresses fabric edges
Here's how experienced makers handle it:
- Inspect the base material — Cotton: pre-wash and dry. Polyester blends: light surface wipe only.
- Check dimension accuracy — Measure flat area. Allow 5–8 mm margin from seams.
- Lock in patch placement — Heat press test without adhesive. Confirm alignment in mirror view.
Clean surface. Correct size. Flat press. Done right, embroidered patches iron on smoothly.
Overlooking Iron-On Backing Activation Temperature
Heat guesswork ruins more embroidered patches iron on attempts than bad stitching ever will. Iron-on backing activates only within a tight temperature setting range.
| Fabric Type | Activation Heat (°C) | Iron Pressure (kg) | Time (sec) |
|---|---|---|---|
| Cotton | 160–170 | 3–4 | 12–15 |
| Polyester | 140–150 | 2–3 | 10–12 |
| Denim | 170–180 | 4–5 | 15–18 |
| Canvas | 165–175 | 4 | 14–16 |
Too low? Adhesive melting never completes the bonding process. Too high? Threads warp and heat application damages twill.
Improper heat calibration remains one of the top three causes of apparel customization returns in 2025, according to McKinsey's State of Fashion 2025 report.
Which Iron Setting Works Best For Patches?
Getting the right heat for embroidered patches iron on projects can feel tricky, but it doesn't have to be. Too hot, and threads warp. Too cool, and the patch iron on adhesive won't grip.
Why Low Heat Protects Polyester Thread and Twill Fabric
When applying embroidered patches iron on, heat control protects detail.
Key risks of high temperature:
- Melting polyester thread
- Shiny marks on twill fabric
- Warping during patch application
Set your heat setting to low. Preheat the iron briefly. Press lightly before full pressure. Fabric protection matters most when dealing with detailed embroidered patches.
Thread Level: Synthetic fibers soften fast. Controlled warmth preserves color and stitch texture. Base Fabric Level: Twill resists mild heat. Low temperature prevents surface shine. Surface Finish: Maintains clean edges. Avoids flattening raised embroidery.
Short tip: cooler is safer. You can always increase heat slowly during your embroidered patch iron on process.
When Medium Heat Maximizes Backing Adhesive Activation
For most embroidered patches iron on, medium heat activates iron-on adhesive effectively.
- Low heat → weak adhesive activation
- Medium heat → optimal temperature
- High heat → fabric stress
Follow this flow:
- Preheat iron to medium.
- Place cloth over the patch.
- Apply firm pressure for 10–15 seconds.
- Lift and repeat across the surface.
Proper heat application supports strong patch adhesion without harming fabric. Medium heat keeps durability high while protecting stitch clarity.
How to Test Settings on Felt Material Before Full Application
Before pressing embroidered patches iron on a final garment, run a test.
Quick checklist:
- Use spare felt material
- Adjust iron temperature
- Observe adhesive response
Step-by-step pre-application check:
- Place patch on felt.
- Apply selected heat for 8 seconds.
- Let it cool completely.
- Tug edges gently.
A simple test keeps your embroidered patches iron on results clean, secure, and machine-ready.
Instant Fix: Loose Edges On Iron-On Patches
Loose corners on embroidered patches iron on pieces can look messy fast. When heat, washing, or daily wear hits, edges start lifting. Here's how to fix iron on patches and keep them sharp and clean.
Press Down Merrowed Border with a Quick Iron Touch
When loose edges pop up on an iron-on patch, focus on the merrowed border.
- Check the fabric base
- Set the iron to medium heat
- Light pressing, 8–12 seconds
- Place cotton cloth over the patch
- Apply steady heat directly on the merrowed border
- Lift iron—don't slide
For thicker embroidered patches iron on, repeat once more if needed. Quick tip: avoid steam; dry heat reactivates adhesive better.
Reinforce Edges via Sewing Application for Extra Durability
For heavy-use gear, sewing beats reheating.
- Edge Check — Inspect lifted patch edges. Smooth onto fabric.
- Stitch Plan — Use tight stitches along border. Keep spacing even (about 3 mm).
- Reinforcement — Double-stitch stress points. Knot thread securely inside lining.
This combo—adhesive plus sewing reinforcement—turns standard embroidered patches iron on into near-permanent fixtures. Great for jackets, bags, uniforms. It boosts durability and keeps edges from peeling after washes.
Seal Gaps with Fabric Glue for Immediate Wear Resistance
Need a fast save before heading out? Apply thin fabric glue under lifted edges. Press firmly.
- Lift gap gently.
- Add small bead of adhesive.
- Press 20 seconds.
- Let dry flat.
This immediate fix adds quick wear resistance, though stitching later is smarter for long-term hold.
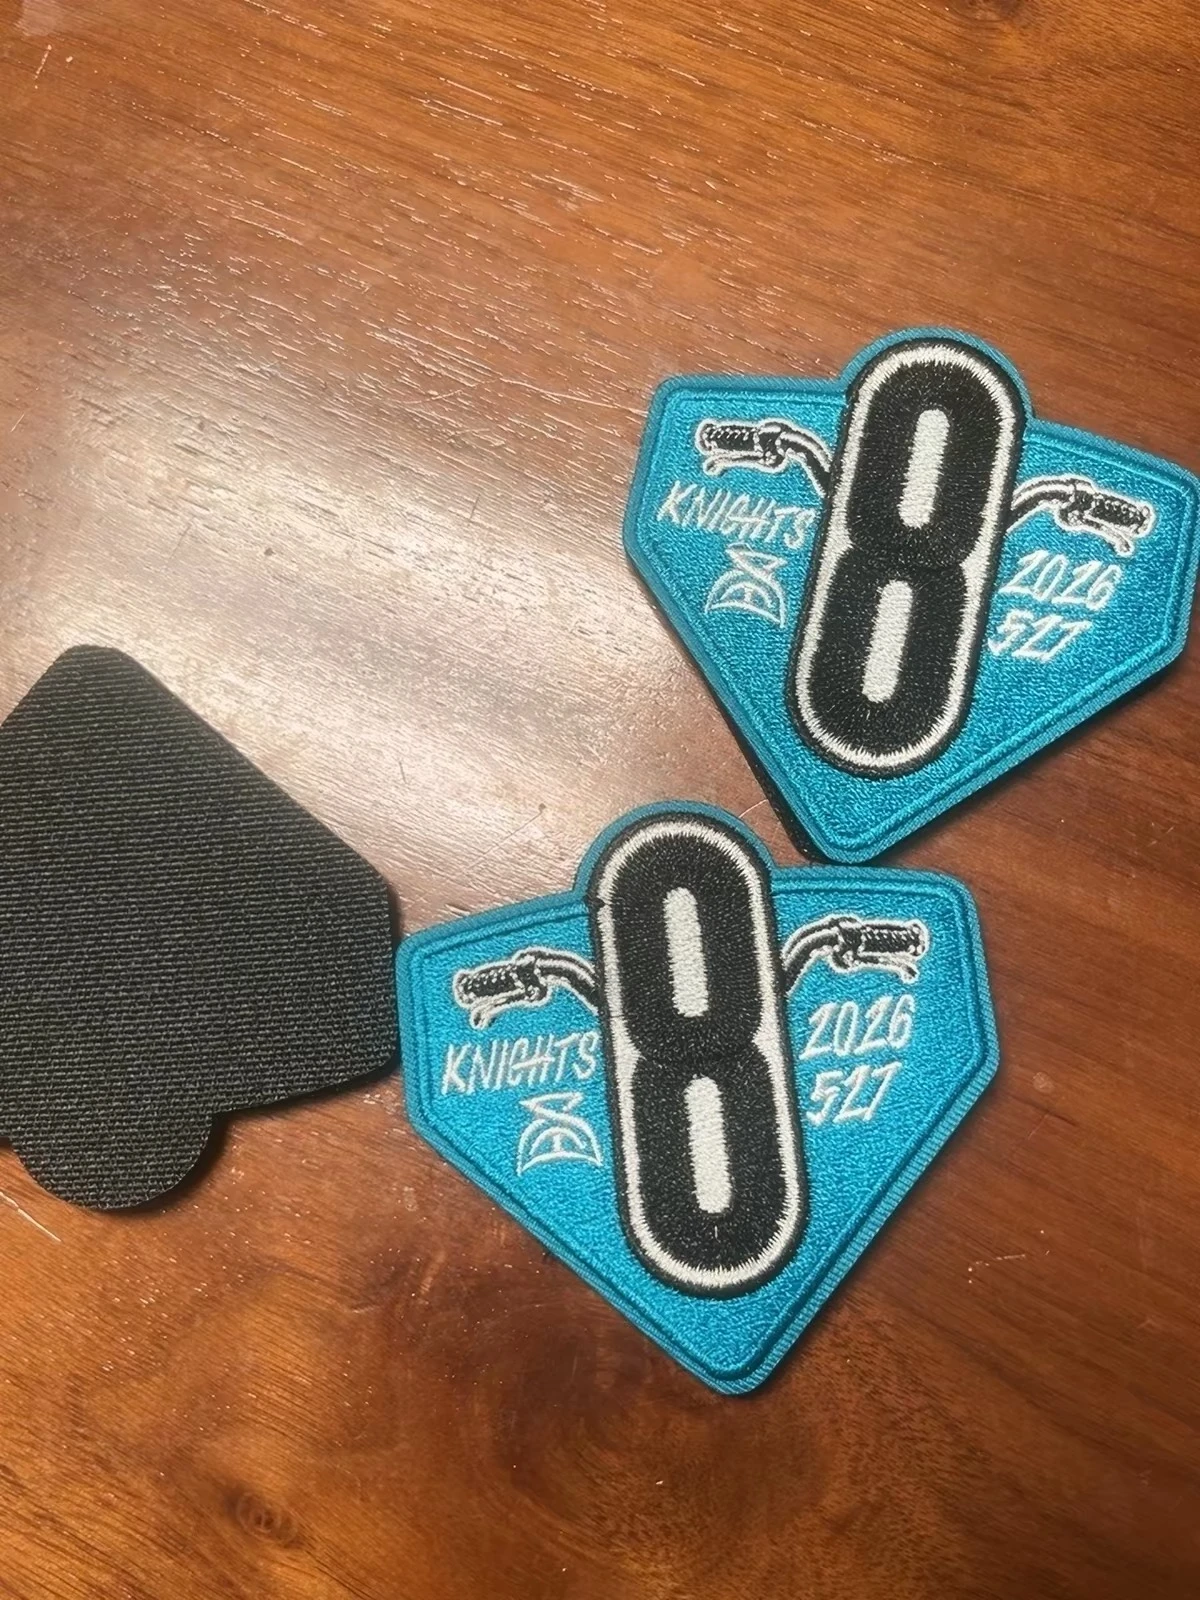
Attach Velcro Backing as a Removable Curl-Stopping Hack
For flexibility, add Velcro backing to your embroidered patches iron on.
Base Prep: Remove old adhesive residue. Clean fabric. Hook-and-Loop Setup: Sew soft loop side onto garment. Attach hook side to patch. Curl Control: Press edges evenly. Check for corner lift.
This removable method prevents curling, supports repeated swaps, and works great for tactical gear or branded merch.
Conclusion
Flat edges. Clean look. No drama. Whether you're applying a single patch or managing bulk production, these 7 tips ensure your embroidered patches iron on results are consistent, durable, and professional.
For factory-grade iron on patches that resist lifting from day one, KaKa Patches delivers cleaner borders and stronger adhesive layers. Request a Quote →
Need Custom Patches for Your Project?
Upload your artwork and tell us your requirements. Our team will prepare a factory-direct quote.